This is just to make sure that the NGINX config file is created correctly. Sometimes the NGINX config doesn’t get written correctly the first time so running the command twice ensure that there are no issues.
After some research I got the PDF creation working flawlessly. I found out that the installed version of wkhtmltopdf is the NON-qt-patched version. But the qt-patched version is needed in order to generate correct PDF files from the document preview.
The “sudo apt-get wkhtmltopdf” for Ubuntu 22.04 variant installs the non-qt-patched version. This one does not support the parameter " --disable-smart-shrinking".
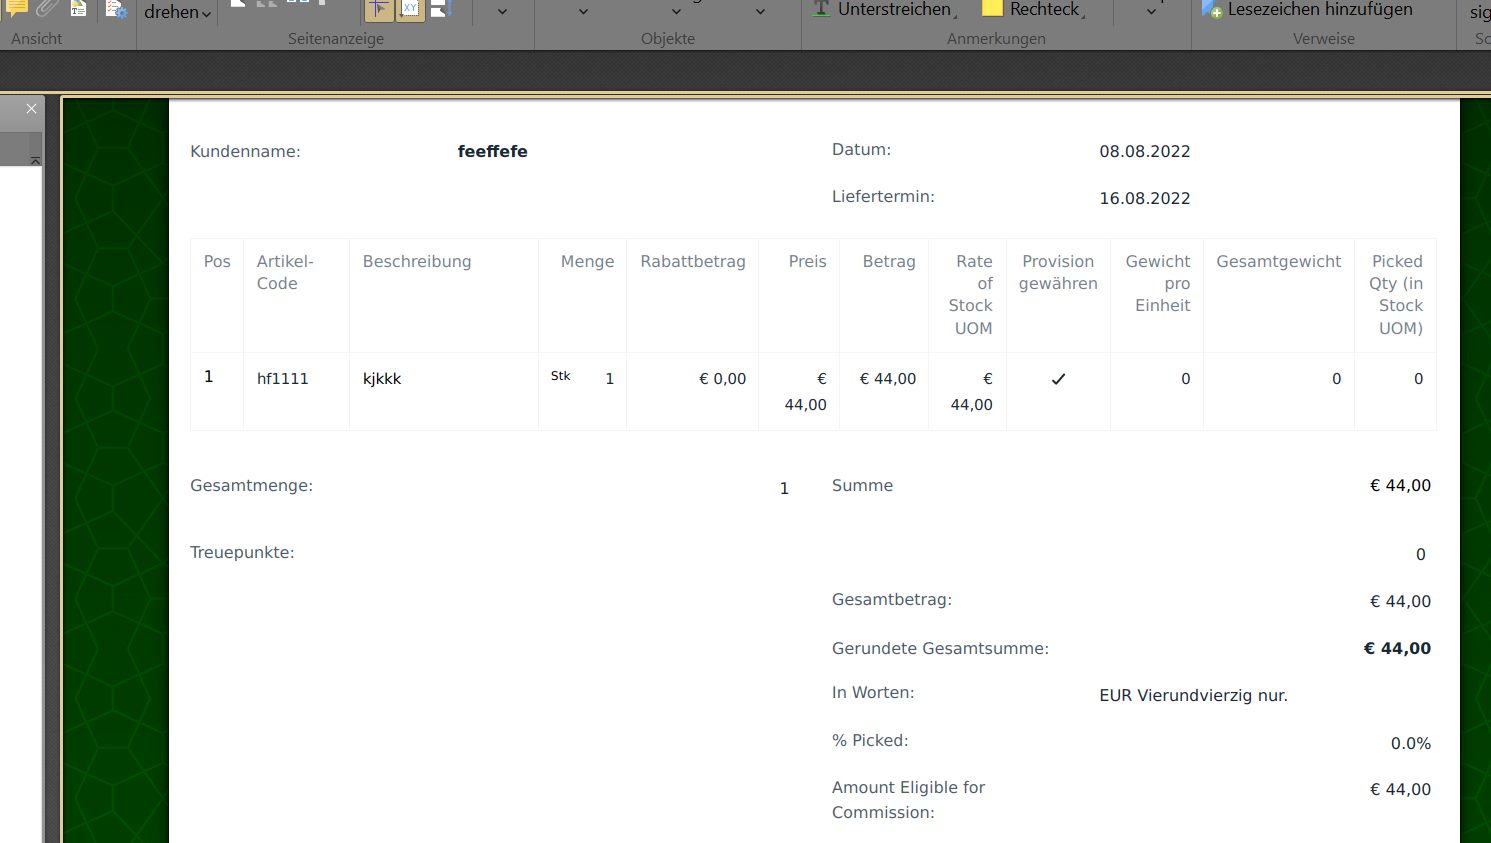
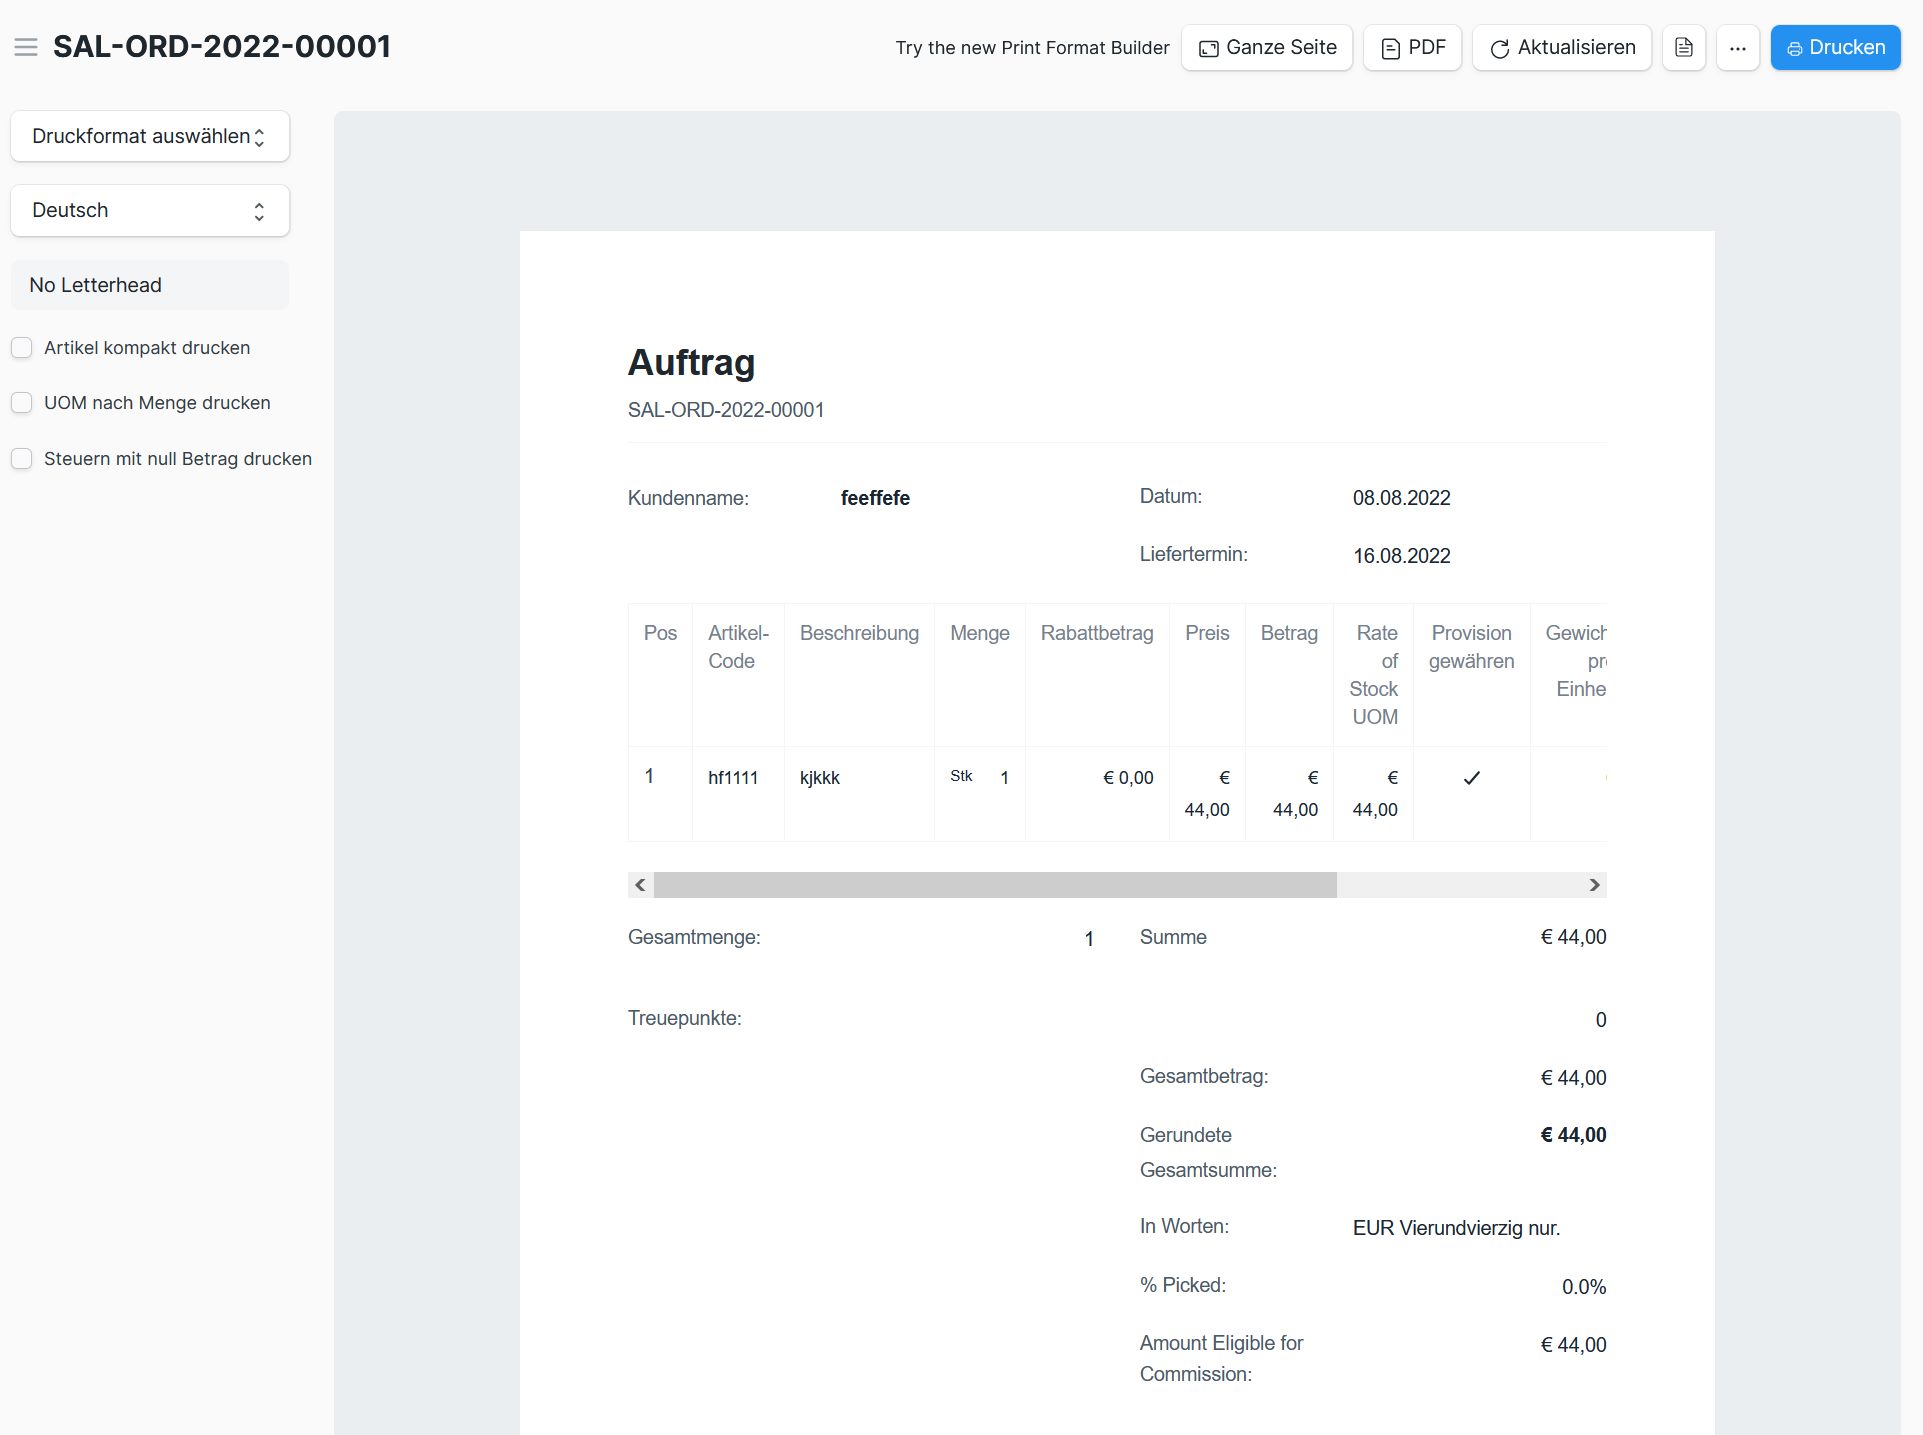
Therefor all PDF files are truncated, shrunk, at the edges, even removing logos or text.
The preview is correct, the created pdf file is mistakenly shrunken / cut.
I solved it with these commands:
remove bad version
sudo apt-get remove wkhtmltopdf
download the latest, qt-patched version from the official github
Could you go into a bit more detail about this? Why is an old version of nvm installed?
What does this install.sh script do? Could this break this wonderful guide in the future?
What does the source - command do?
Thanks again so much for your help and explanations!
Great to know that you solved the issue. May be it’s a random issue that some users might face depending on the repositories used to install the Ubuntu image.
The install.sh script is the default installation script used by nvm (version manager for Node) to install Node on a per-user, per-shell basis.
The reason for the specific version of Node is because it is one of the newest LTS versions (long-term supported) of Node and it is also compatible with v14 of Frappe & ERPNext.
As for the source ~/.profile command, it is used to set the correct environment variables.
Oh wow! Thanks for the explanation!! I remember having to install a much older version of node for my first v13 install.
It’s awesome that it installs the newest LTS version!
$ bench init --frappe-branch version-14 frappe-bench
Setting Up Environment
$ python3 -m venv env
The virtual environment was not created successfully because ensurepip is not
available. On Debian/Ubuntu systems, you need to install the python3-venv
package using the following command.
apt install python3.8-venv
You may need to use sudo with that command. After installing the python3-venv
package, recreate your virtual environment.
How to resolve this?
I have installed the v environment following step 2.3
sudo apt-get install python3.10-venv
Thank you very much for the procedure. I’ve just installed two instances (for a production server and a development server) and it mostly went through fine, apart from a couple of additions I needed to make that I found elsewhere on this forum. Perhaps those are something to do with the Ubuntu 22.04 installation provided by the host.
Apart from those, I have a couple of comments below:
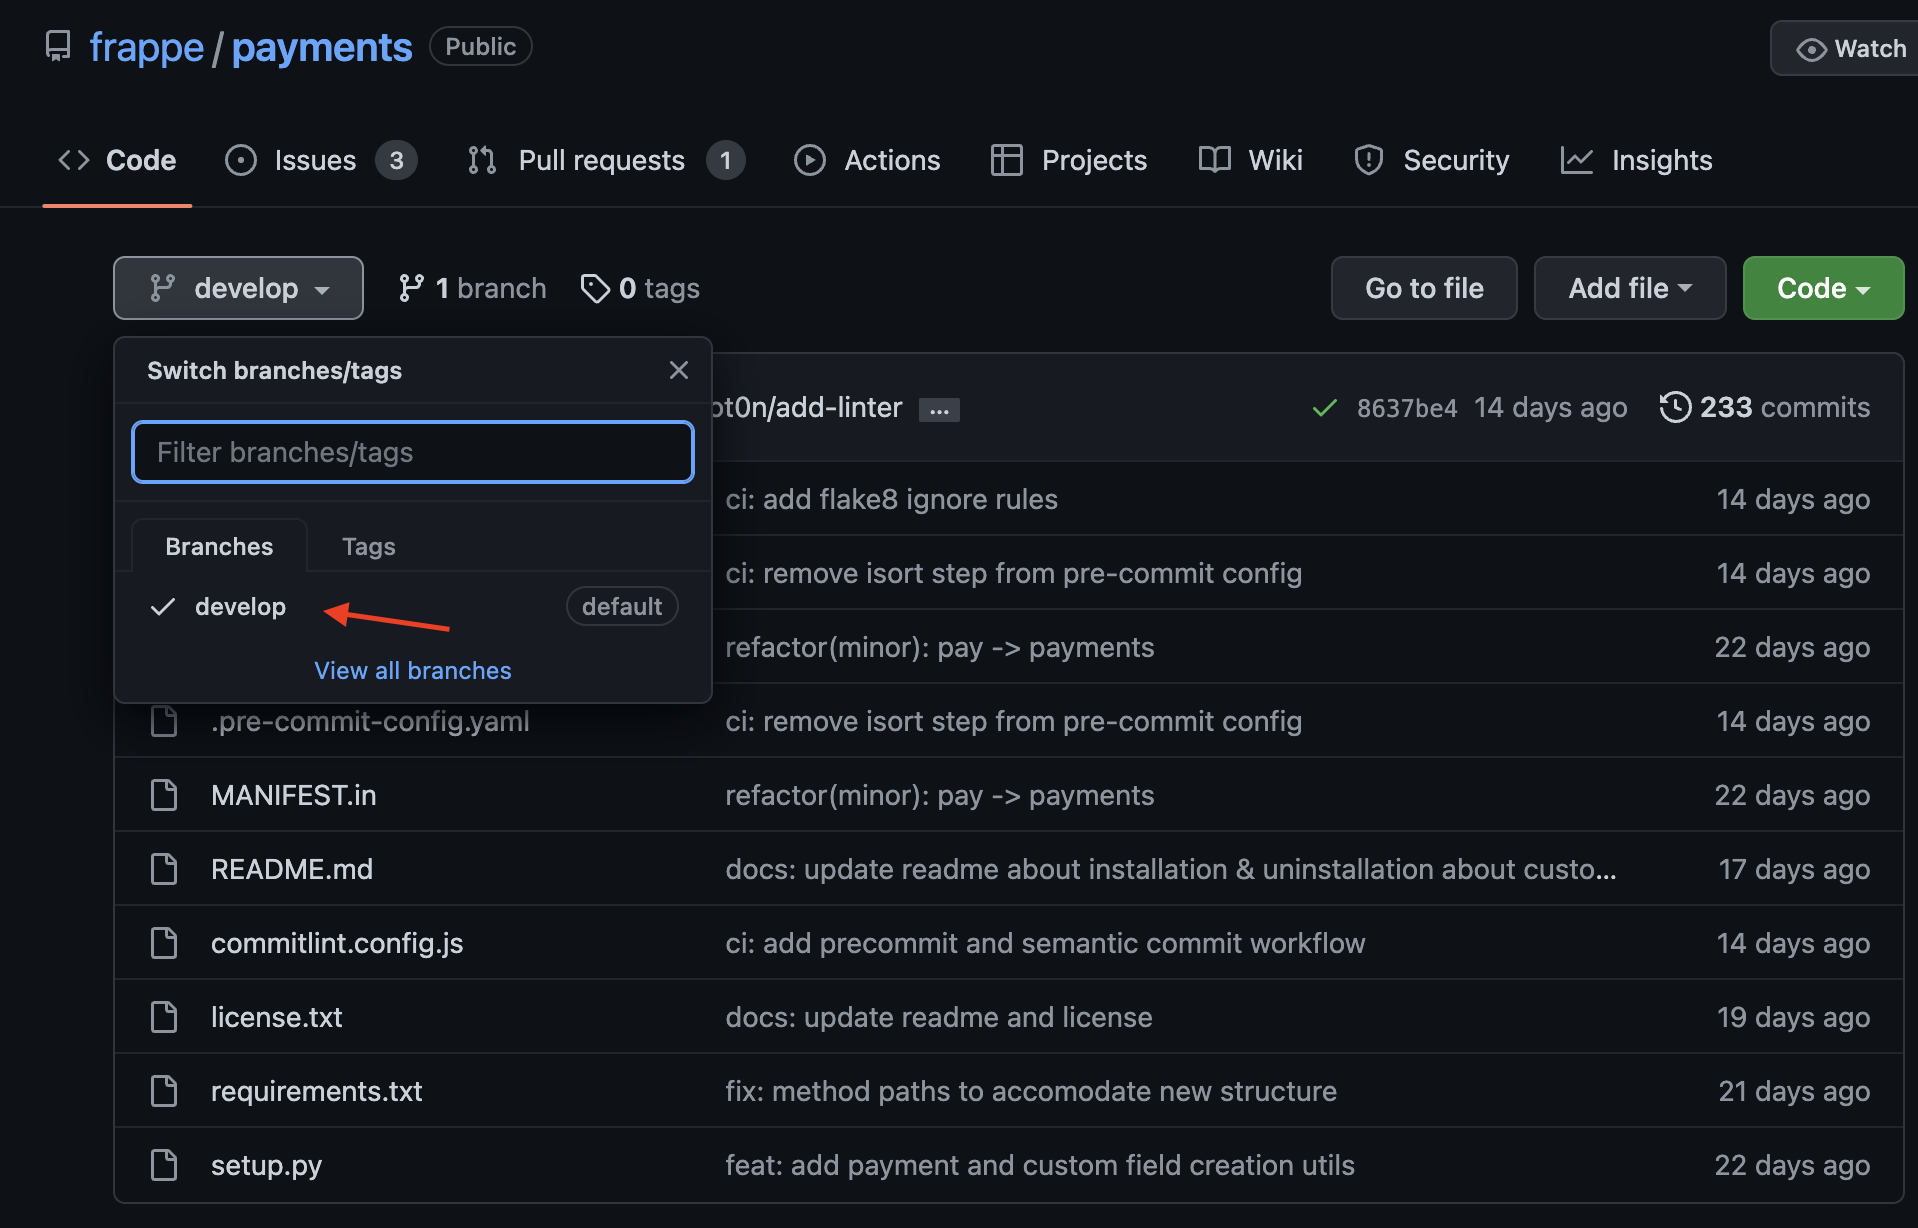
This appears to install the version from the “develop” branch. Should we be installing from the version-14 branch instead? Or is the payments app not on that branch yet?
For those of us blindly copying and pasting by the time we get to the end, these should be preceded by “sudo”
It looks like you have a broken installation of Python. Can you check which version of Python have you installed on your system by running python3 -V Also, are you sure you’re using Ubuntu 22.04?
If it’s a case of broken Python install the I would suggest you to start with afresh on a new server instead of trying to fix the broken package as it will end up creating more issues in the future.
Glad to know that you could get your production servers up and running!
You are right here, the payments app currently has only the “develop” branch available. Same is the case with the HRMS app. May be we will get master branches of these apps (like we have for “ecommerce_integrations” app) in the future.